![]()
Chapter 1 Making 90-degree pop-ups
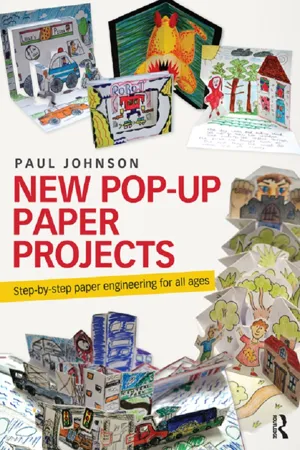
1.1 ‘Hamburger’ (right).
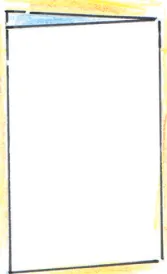
As pop-ups have to cross the middle crease of the page spread, most projects start by folding a sheet of paper in half.Folding one short edge to the other one is a ‘hamburger’ fold. Folding in half the other way – one long edge to the other one – the ‘hot dog’. I first came across this mnemonic in US elementary schools a decade or two ago and have used it in classroom situations ever since.
1.2 ‘Hot dog’ (below).
Sharp and accurate creases make a marked difference to the appearance of the finished pop-up. If children have been playing outside prior to the pop-up session their fingers may be grubby. So keep finger folding to a minimum and use scissor handles instead to reinforce creases.
1.3 A sticking up crease is a ‘mountain’ . . .
1.4 . . . and the opposite a ‘valley.’
Folding
Folding paper correctly on an uncluttered working surface ensures that pop-ups pop up successfully and with the least amount of effort.
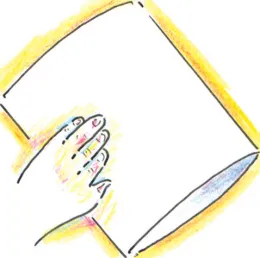
1.5 Here is a suggestion for starting out: Place in front of you a sheet of copier paper (landscape). Gently curve over right side corners to match left side corners. With one hand hold open edges tightly together.
1.6 ‘Walk fingers’ of your other hand up sheet centre. At furthest point make a light crease in both directions to make the middle crease.
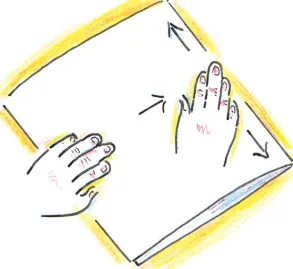
1.7 Lay closed scissor handles on folded edge and sharpen crease. Ensure that the point of the scissor blade does not come into contact with the hand.
Cutting
The cutting diagrams that follow show the fold at the bottom of the sheet – the scissor-cutting position. Pop-ups seen horizontally are planned this way too.
1.8 Cutting position.
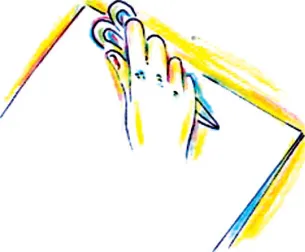
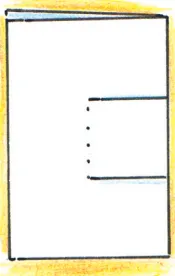
But many 90- and180-degree pop-ups are prepared vertically so paper is shown in that position for planning purposes in most project diagrams.
1.9 Designing position.
Eye-measuring
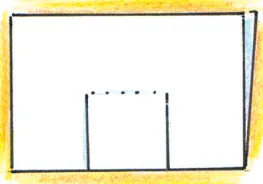
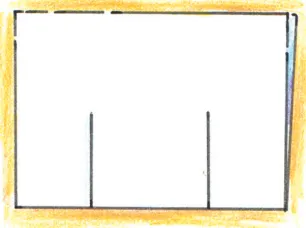
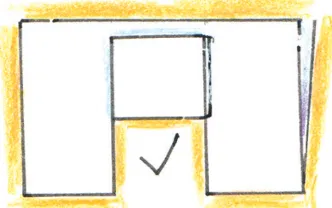
The two parallel cuts required to make ‘the box’ must not go further than half way up the folded sheet. Rather than measuring with a ruler encourage ‘eye measuring’ skills. With practice students can get quite good at this and it saves time.
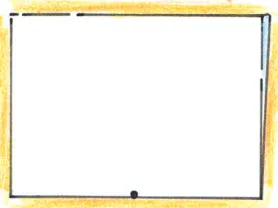
1.10 Introducing it to a class: ‘Draw a dot where you think the middle of the folded edge is.’
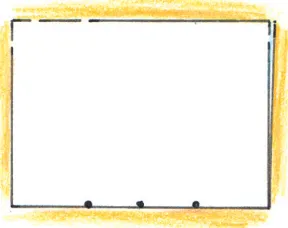
1.11 ‘Now draw another dot about two finger widths to the left of it and two finger widths to the right of it.’
(The number of fingers depends on the age of the student.With younger pupils you might use a three-finger measure.)
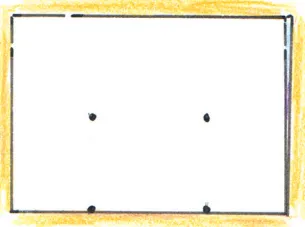
1.12 ‘Place dots where you think half way is above the left and right dots.’
1.13 ‘Lay the ruler between the two left dots and draw a connecting line. Now do this to the right dots.’
1.14 ‘Hold the paper with the fold touching you. Cut both lines.’
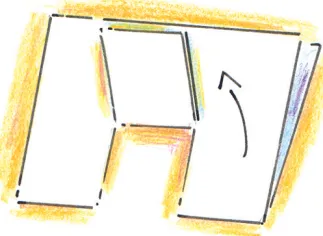
1.15 ‘Lay the scissors down and start to fold forward between the two lines.’
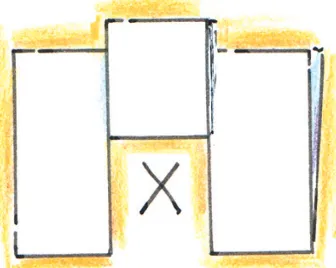
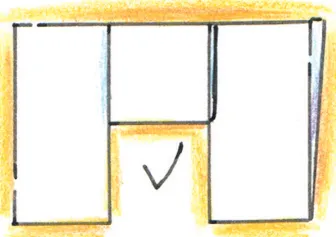
1.16–18 Make the class aware that before the pop-up shape is folded down it must not protrude over paper’s edge. If it does it will stick outside closed page. So if pupils cut more than half way they must not fold more than half way. It...